Ręczna instalacja
W czasie ręcznej instalacji pobierasz pełne archiwum Piwigo, wyodrębniasz zawartość i przesyłasz na swój serwer.

W czasie ręcznej instalacji pobierasz pełne archiwum Piwigo, wyodrębniasz zawartość i przesyłasz na swój serwer.
Pobierz pełne archiwum i wyodrębnij zawartość.
Prześlij zawartość archiwum na swój serwer WWW korzystając z dowolnego klienta FTP.

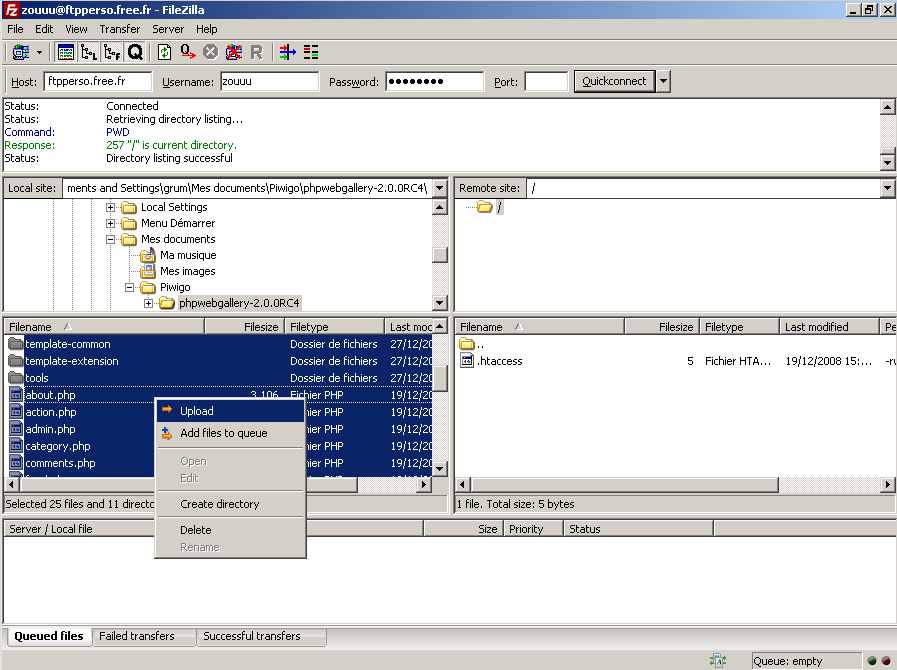
Zespół Piwigo rekomenduje klienta FTP FileZilla, ponieważ tak jak Piwigo jest bezpłatny i kompatybilny z systemami Windows i Linux.
Uruchom FileZilla i określ ustawienia połączenia danymi dostarczonymi przez Twojego dostawcę usług hostingowych.
Naciśnij przycisk Szybkie łączenie (Quickconnect). Jesteś teraz połączony z Twoim serwerem internetowym.
1. Utwórz folder "photos" na swoim serwerze WWW.
2. Na swoim dysku lokalnym otwórz wyodrębnioną zawartość archiwum "piwigo"
3. Zaznacz wszystkie pliki i prześlij je do folderu "photos" na swoim serwerze.
Łączenie i przesyłanie
Po przesłaniu wszystkich plików przejdź do adresu swojej strony w przeglądarce internetowej, na przykład http://przyklad.com/zdjecia. Piwigo wykryje, że nic jeszcze nie jest zainstalowane i przekieruje Cię na stronę instalacji.
Teraz czas na ustawienia bazy danych MySQL i konto administratora witryny do zarządzania Twoją galerią.
Możesz również zainstalować Piwigo w folderze głównym witryny, folder "photos" nie jest wymagany. Jakąkolwiek nazwę folderu wybierzesz, zalecane jest nie używać numeru wersji Piwigo.
Wypełnij ustawienia połączenia z bazą danych MySQL danymi podanymi przez dostawcę usług hostingowych.:
Następujące informacje są wymagane do utworzenia konta administratora witryny:
Uruchom akcję "Start instalacji"

Strona instalacji
Będziesz poinformowany o sukcesie lub niepowodzeniu procesu instalacji
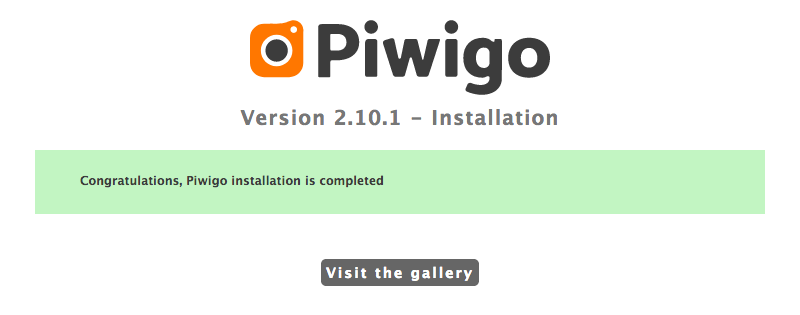
Pomyślna instalacja
Po zakończeniu instalacji możesz przejść do swojej galerii. Zaloguj się swoim kontem administracyjnym i przejdź do panelu administracyjnego.
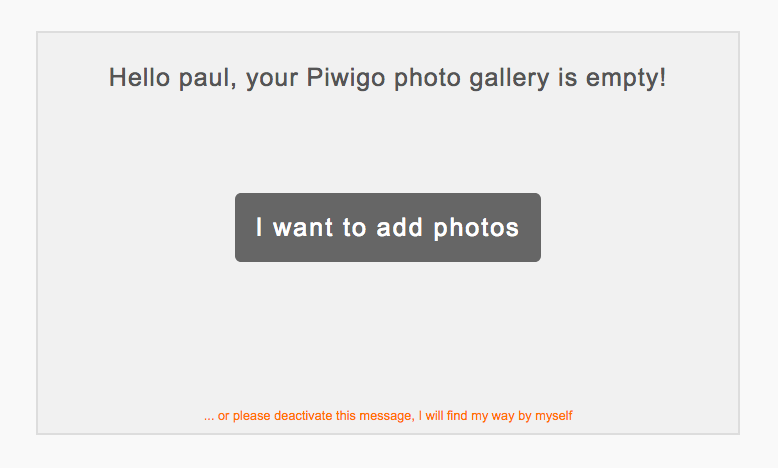
Piwigo jest zainstalowane
Pomoc możesz otrzymać na forum lub poszukaj odpowiedzi w dokumentacji